
Overview
The Zendesk integration allows users to create Help Center articles directly from videos, streamlining the content creation process. This feature is ideal for support teams looking to efficiently manage and publish knowledge base content. With just a few clicks, transform your video content into a well-structured article.
Video Tutorials
Watch these short videos to see the feature in action:
Video overview: This video demonstrates how to connect your Zendesk account and convert videos into articles.
Set up article creation and find your Zendesk IDs
Before you start
- You need access to Zight’s Zendesk integration and the Smart Actions content you want to export.
- Your Zendesk account must have a Help Center and a section where the articles will go.
- Ask a Zendesk Knowledge admin (also called a Guide admin) to help retrieve the IDs and confirm the correct viewing and management permissions. Available permission options depend on your Zendesk plan.
- Use IDs from the Zendesk account connected to Zight. Do not copy example IDs or values from another account.
1. Connect Zendesk in Zight
- In your Zight web dashboard, open Integrations.
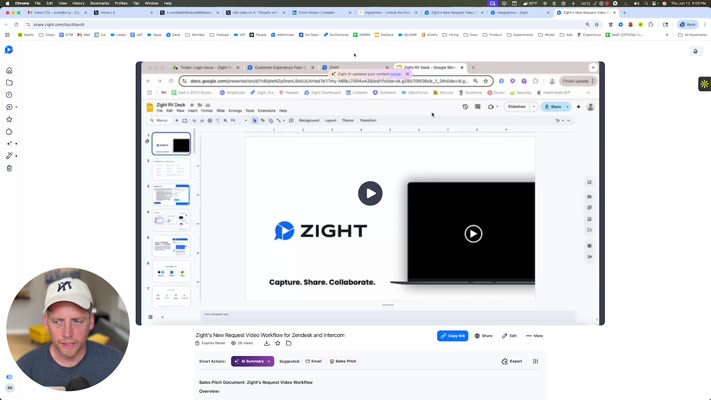
- Find Zendesk and select Enable. If it is already connected, select Manage.
- If prompted, enter your Zendesk subdomain and follow the authorization prompts using an account with the necessary Help Center permissions.
- Open the Configuration tab and locate Create Zendesk Article.
This setting is separate from the integration’s ticket and video-request options.
2. Find your Section ID
The Section Id field determines where articles are created in your Zendesk Help Center.
- Open your Help Center and navigate to the specific section that should contain the articles.
- Look at the URL in your browser’s address bar. Confirm it contains
/sections/, not/articles/or/categories/. - Copy the numeric ID immediately after
/sections/. Do not include the section name, hyphen, or the rest of the URL.
For example, in https://yourcompany.zendesk.com/hc/en-us/sections/123456789-Getting-started, the Section ID is 123456789. This is an example only.
API alternative: Ask an authorized administrator to retrieve the section through the Zendesk Sections API and copy its id.
3. Find your User Segment ID
The User Segment ID identifies the audience allowed to view the article. Choose the audience intentionally: a staff-only segment is not appropriate for documentation intended for customers.
- In Zendesk, open Knowledge admin (Guide admin).
- Select User permissions in the sidebar and locate your user segments.
- Open the segment you want to use.
- Copy the numeric segment ID from the page’s URL. If the segment cannot be opened or its ID is not visible, use the API alternative below.
API alternative: An authorized administrator can request GET /api/v2/help_center/user_segments on your Zendesk account. Find the intended segment by its name and copy that segment’s id, not an ID inside group_ids or organization_ids.
See Zendesk’s Managing user segments and User Segments API guides.
4. Find your Permission Group ID
The Permission Group ID identifies the management permissions that determine which agents can manage the article, including editing and publishing it.
Important: This is a Zendesk Knowledge management permission group, not a Zendesk Support group. Do not use the group ID from Admin Center → People → Groups.
- In Knowledge admin, go to User permissions → Management permissions.
- Identify the management permission you want to apply to articles created from Zight.
- Ask a Help Center manager to retrieve
GET /api/v2/guide/permission_groups.jsonon your Zendesk account. - In the
permission_groupsresponse, find the entry with the matchingnameand copy itsid. Do not copy an ID from theeditorpublisharrays; those are user segment IDs.
For example, if the matching entry has "id": 42 and "name": "Documentation editors", enter 42. This is an example only.
See Zendesk’s management permissions guide and Management Permission Groups API. API requests require appropriate authentication; ask your administrator to provide the IDs, not their password or API token.
5. Configure article creation in Zight
- Return to Integrations → Zendesk → Configuration.
- Turn on Create Zendesk Article.
- Enter your numeric IDs into the matching fields: Permission Group ID, User Segment ID, and Section Id. All three fields are required in this configuration.
- Complete any save or confirmation prompt shown. Reopen the configuration and confirm the values are retained.
The IDs serve different purposes and are not interchangeable: the section controls where the article goes, the user segment controls who can read it, and the permission group controls who can manage it.
Steps
-
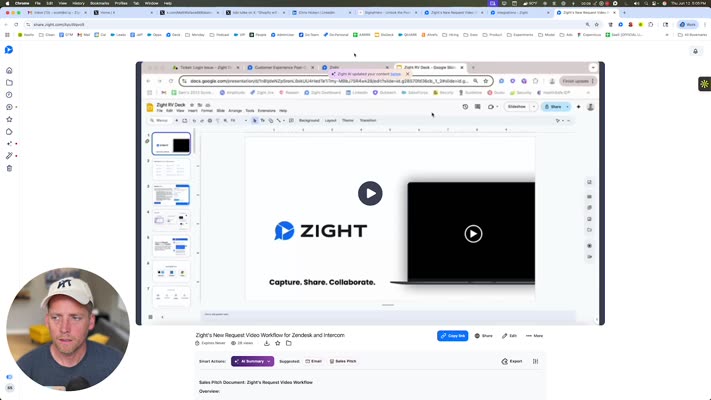
Open the Created Video
Begin by opening the video that you’ve just created. This will be similar to the one in the demonstration video.
-
Click on Integrations
Navigate to the interface and click on Integrations to proceed with the setup.
-
Log Into Zendesk
Click the option to log into your Zendesk account. Ensure you are authenticated for further actions.
-
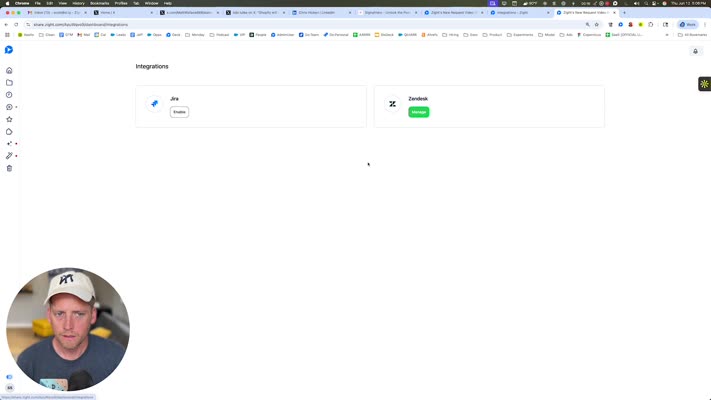
Return to Video Item
Once logged in, navigate back to the video item you are working with to continue the setup.

-
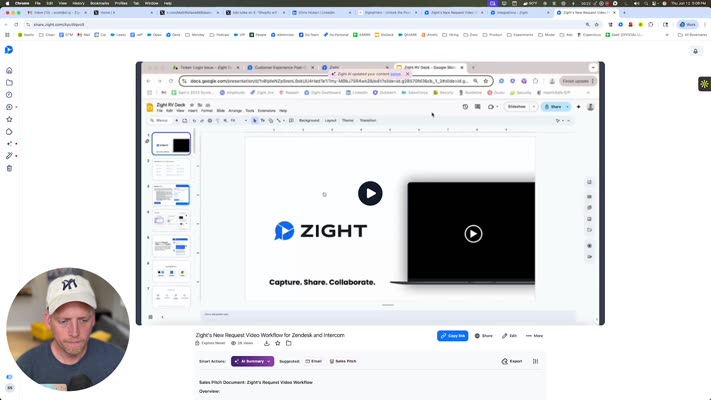
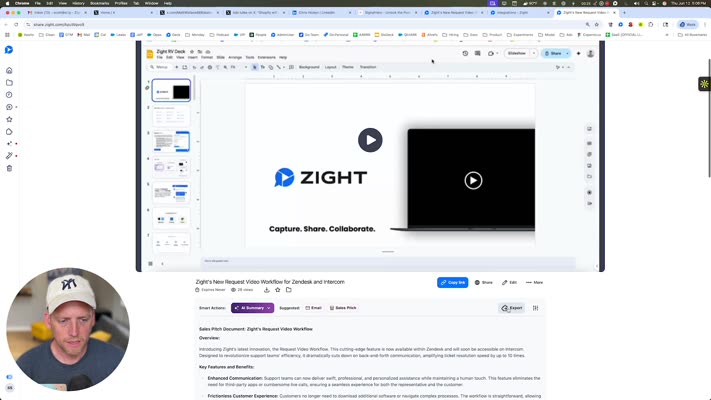
Locate the Export Option
Scroll down within the interface to find the Export option.
-
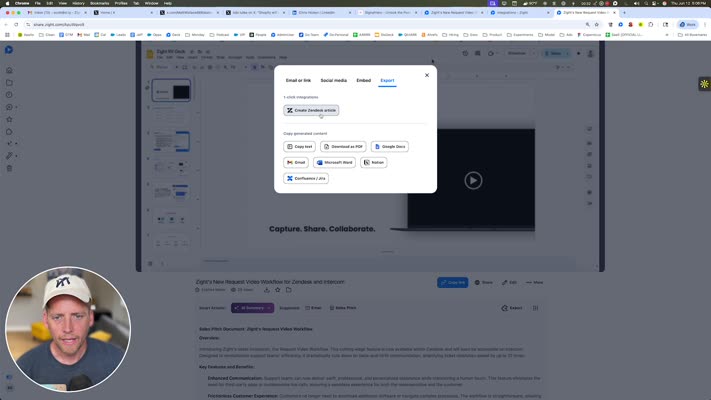
Choose Content Destination
Decide where you would like the content to be exported. Ensure you select the appropriate destination.
-
Create Zendesk Article
Click on Create Zendesk Article to initiate the article creation within Zendesk.
-
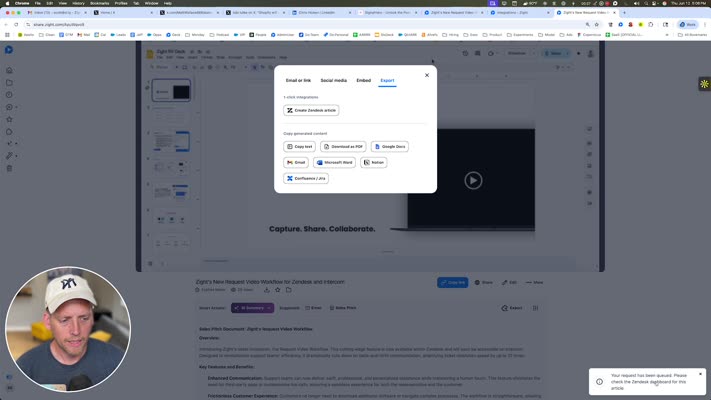
Completion
The process is complete. You have successfully set up the Zendesk integration to create an article.
Tips & Best Practices
- Ensure your video content is clear and concise to improve the quality of the generated article.
- Regularly update your Zendesk credentials to avoid integration issues.
- Before exporting, review the video to ensure it covers all necessary details for the intended article topic.
Troubleshooting
- Cannot log into Zendesk → Double-check your login credentials and ensure you have network connectivity.
- Export option not visible → Refresh the page or clear your browser cache and try again.
Related to
Comments
0 comments
Article is closed for comments.