Access & Availability
This Jira one-click workflow is currently available only for Scale plans and requires the Premium integrations add-on.
Overview
With Zight, you can streamline your workflow by creating Jira tickets directly from your videos or screenshots. This feature is perfect for developers, project managers, and support teams who need to report bugs, request features, or address support issues quickly and efficiently. Enjoy seamless integration with Jira to enhance your team's productivity.
Video Tutorials
Watch the following video to see how easy it is to set up and use the Jira integration with Zight:
Steps
-
Create an Item
Create a new item such as a screenshot or video within Zight. This will serve as the basis for your Jira ticket.
-
Open the Item
Open the item you just created in the Zight viewer.
-
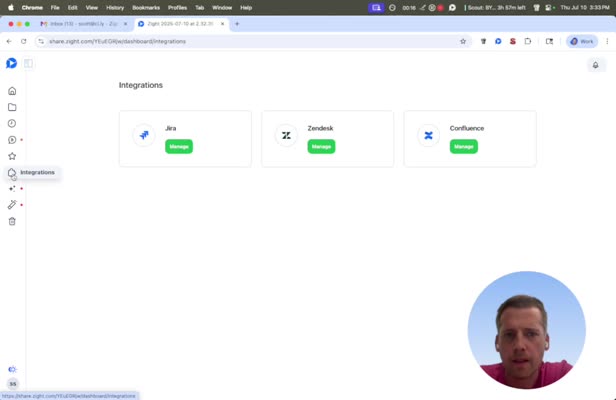
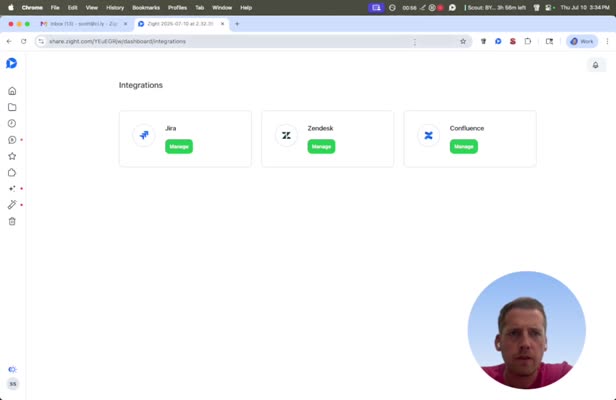
Select Integrations
Click on Integrations in the viewer to proceed with the integration setup.
-
Enable Jira Integration
In the integrations menu, add and enable the Jira integration by clicking Manage.
-
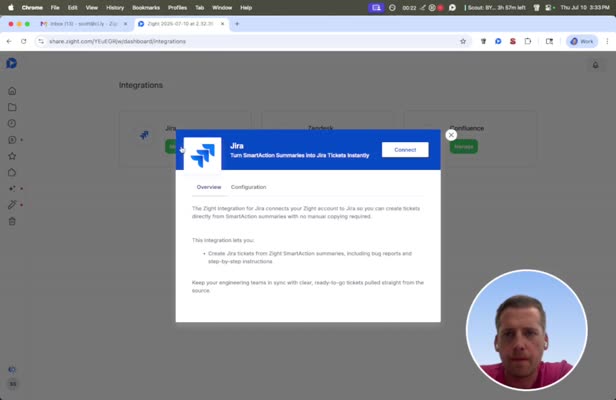
Connect to Jira
Click Connect to proceed with linking your Jira account.
-
Authenticate
Log into your Jira account to authenticate and complete the integration.
-
Select Jira Site
Choose the Jira site where you want to create the ticket, then click Create Ticket.
-
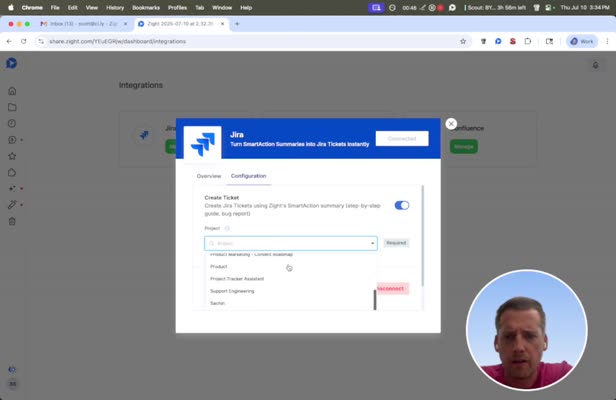
Choose Area
Select the area within Jira you wish to target, such as support or engineering.
-
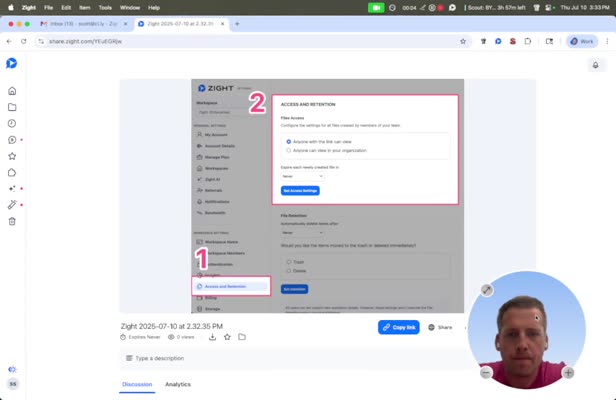
Save
Save your integration settings to finalize the setup.
-
Create a Video
Create a new video and utilize the one-click integration feature.
-
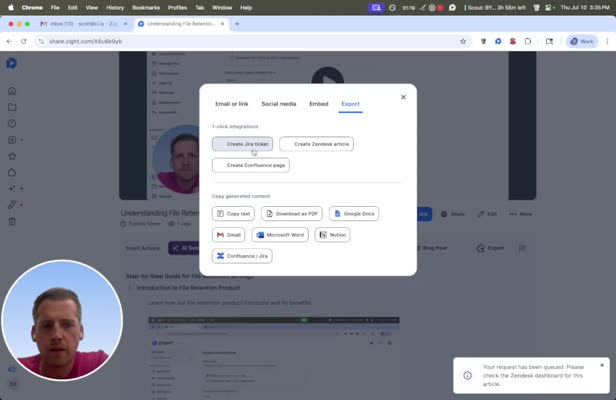
Export and Create Jira Ticket
Export your video and click Create Jira Ticket to generate the ticket in Jira.
-
Send Ticket to Jira
Your ticket will be sent to Jira for review and processing.
-
View Created JIRA Ticket
Check your Jira account to view the newly created ticket, which includes all relevant steps from your video.
Tips & Best Practices
- Ensure your Zight annotations are clear and detailed to provide comprehensive information in the Jira ticket.
- Regularly update your Jira integration settings to avoid authentication issues.
- Use descriptive naming conventions for your videos and screenshots to keep your Jira tickets organized.
Troubleshooting
- Unable to connect to Jira → Ensure your Jira credentials are correct and that your account has the necessary permissions.
- Integration not appearing → Restart Zight and refresh your integrations page to check for updates.
Related to
Comments
0 comments
Article is closed for comments.