Overview
Google SSO and SAML integration with Zight allows users to easily and securely sign in using their Google credentials. This feature is perfect for organizations using Google Workspace, offering seamless access and automated user provisioning. Scale accounts can further leverage SAML for enhanced security and user management.
Steps
-
Sign In with Google
To use Google as a sign-in portal, click the Sign in with Google button on the login page. This option is free for all users.

-
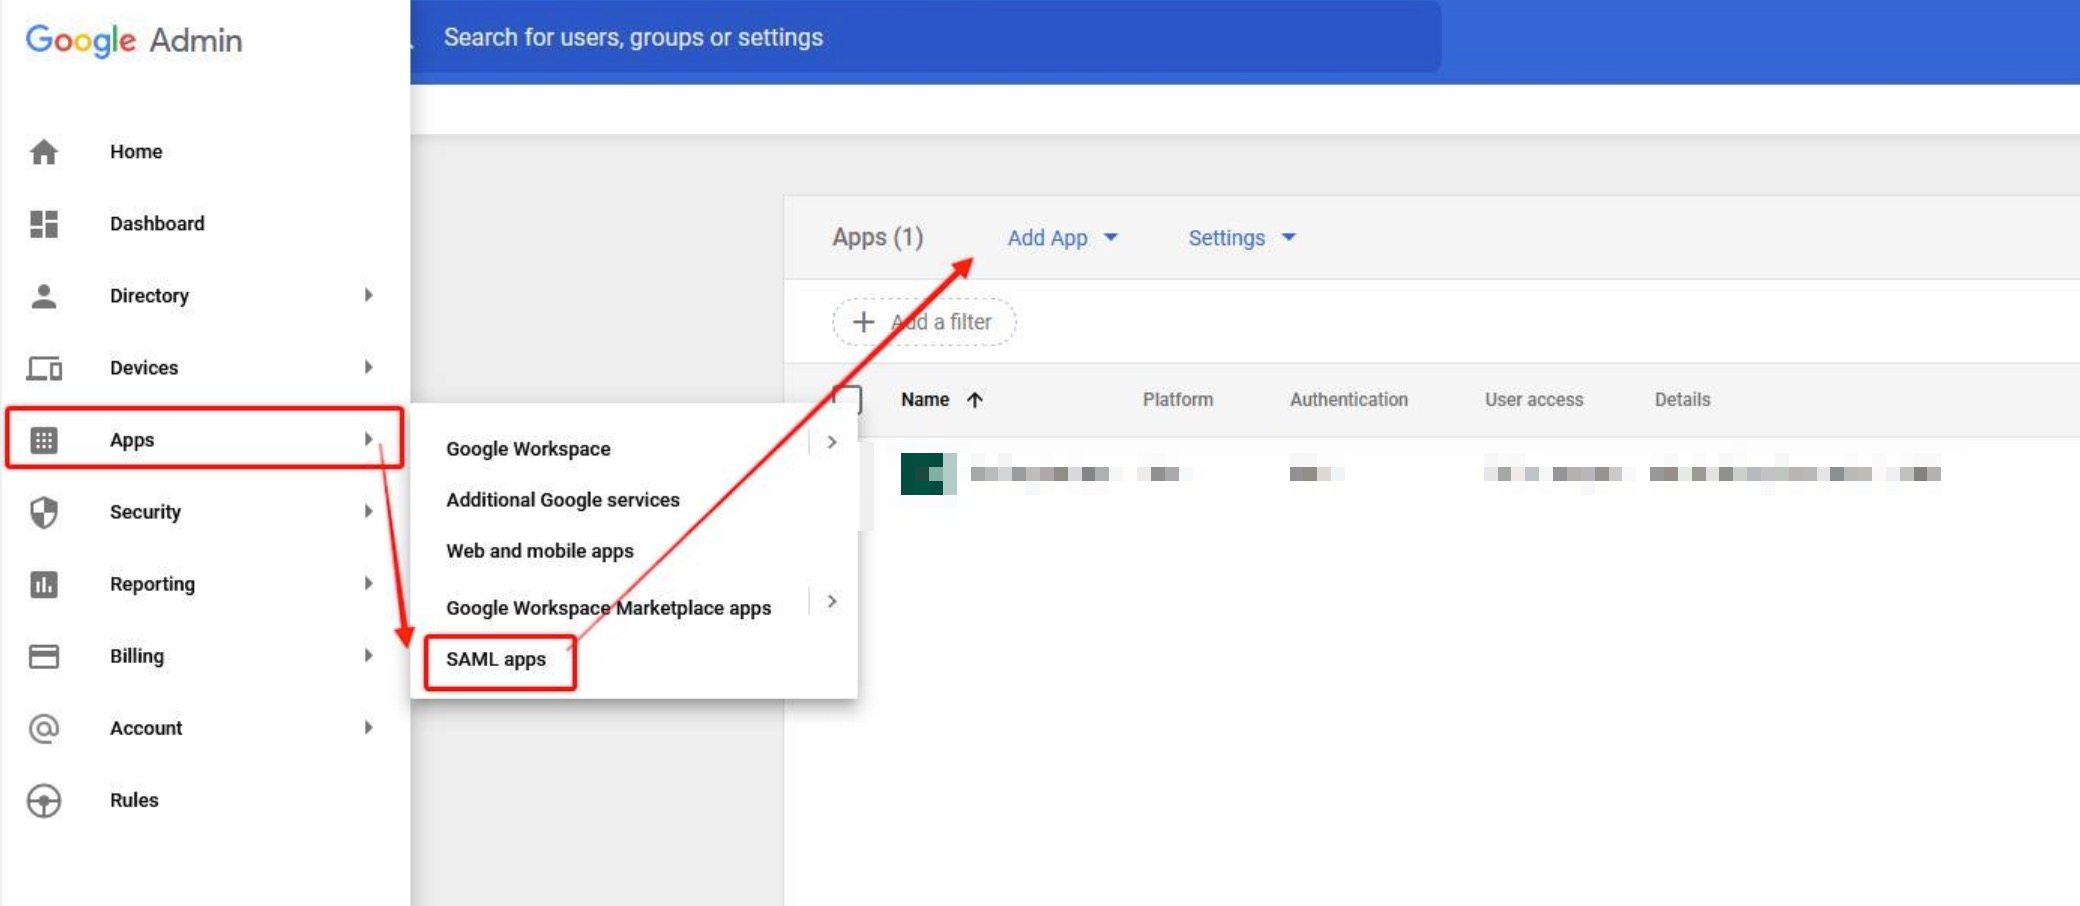
Access Google Admin Console
Log in to Google Admin Console. Navigate to Apps → SAML apps.
-
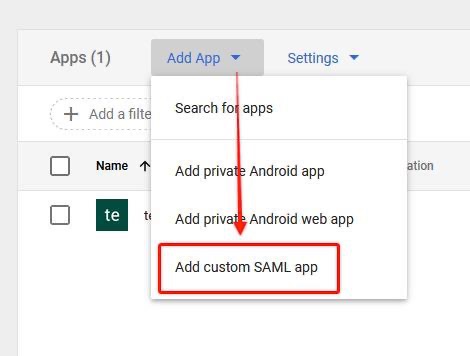
Add Custom SAML App
Select Add App → Add custom SAML App. Choose a name, such as "Zight", and optionally select an app icon.
-
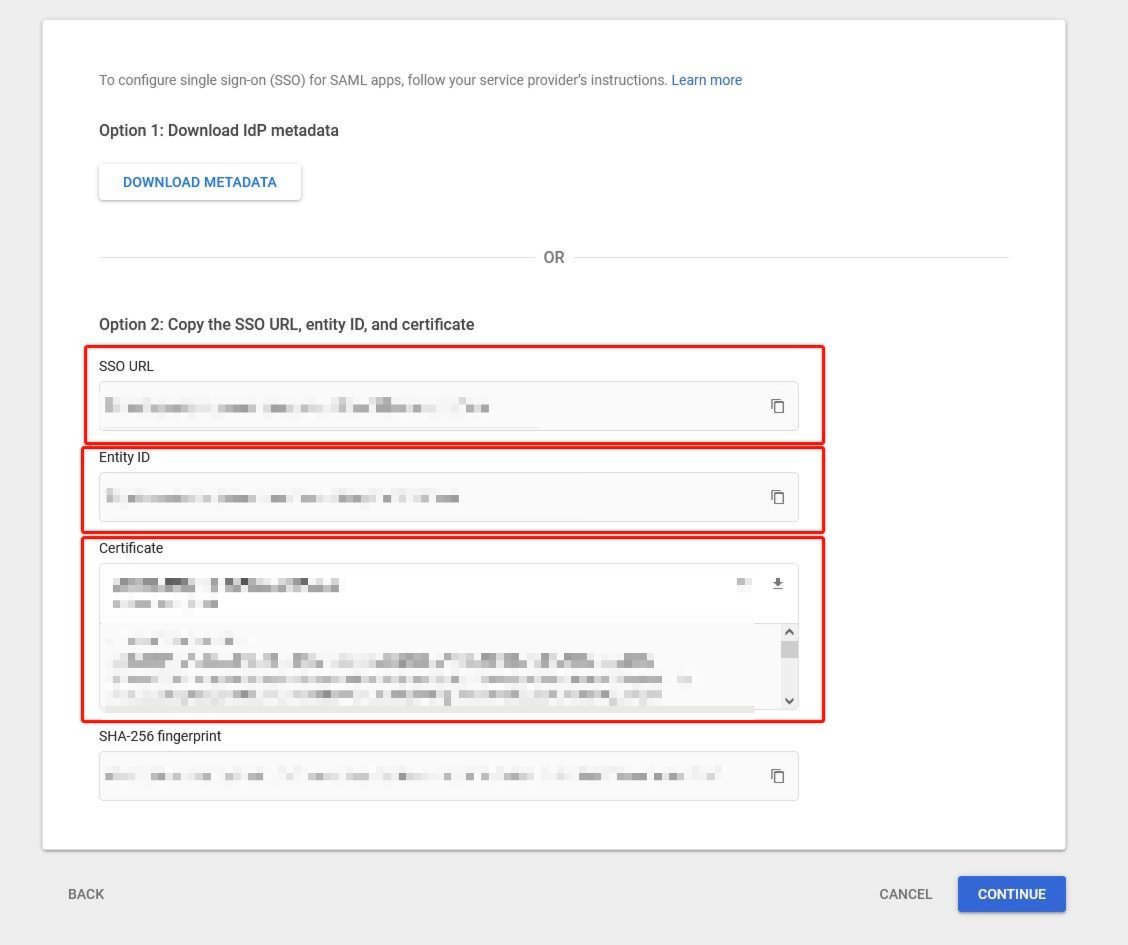
Send SSO Details to Zight
Copy the SSO URL, Entity ID, and Certificate fields. Send these to support@zight.com or your Customer Success Manager.
-
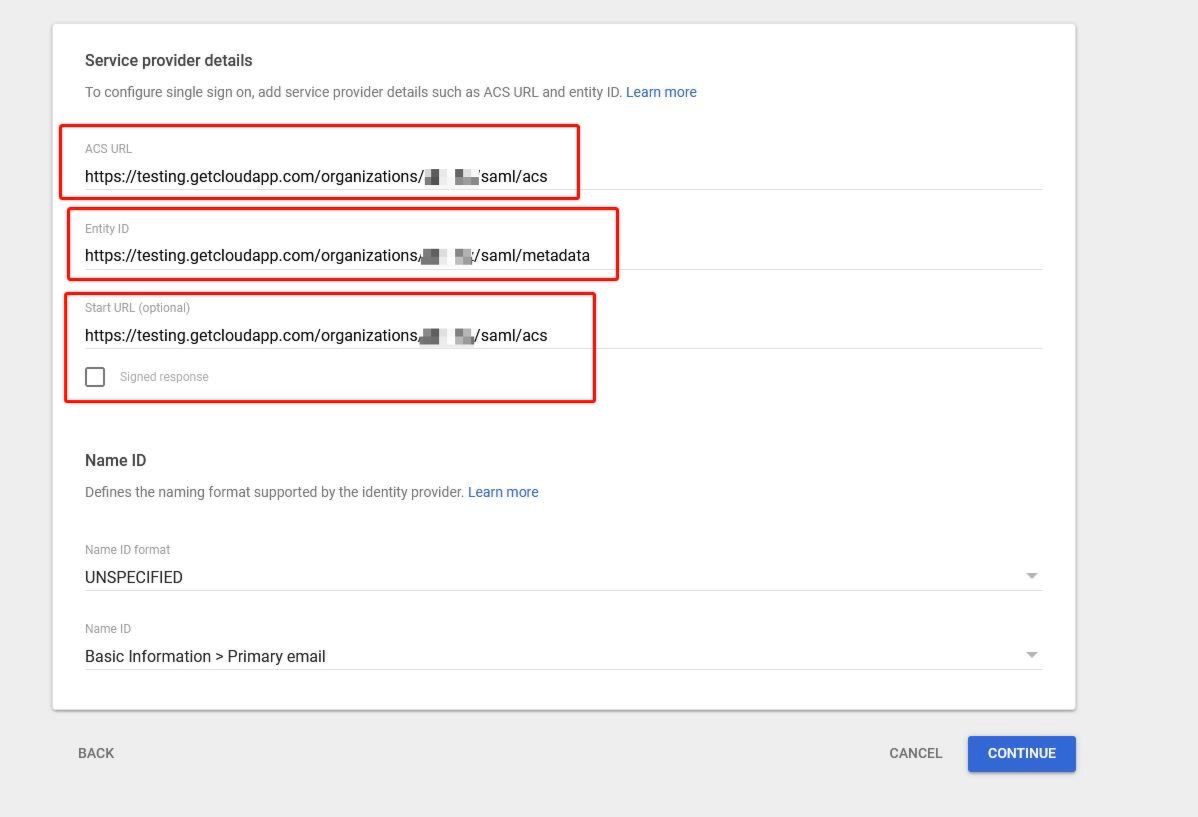
Complete SAML Setup
Await the Zight team to provide ACS URL, Entity ID, and Start URL. Enter these values to complete the setup and click Finish.
-
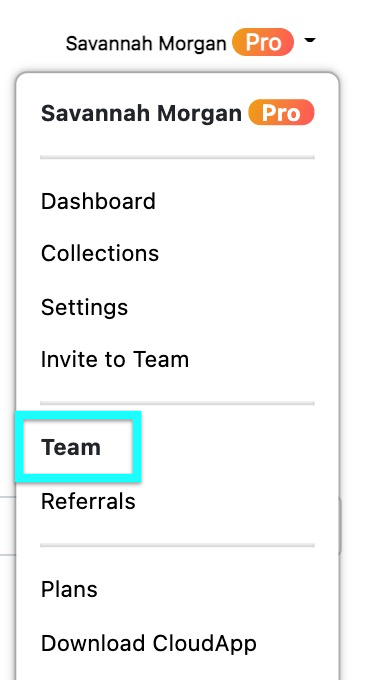
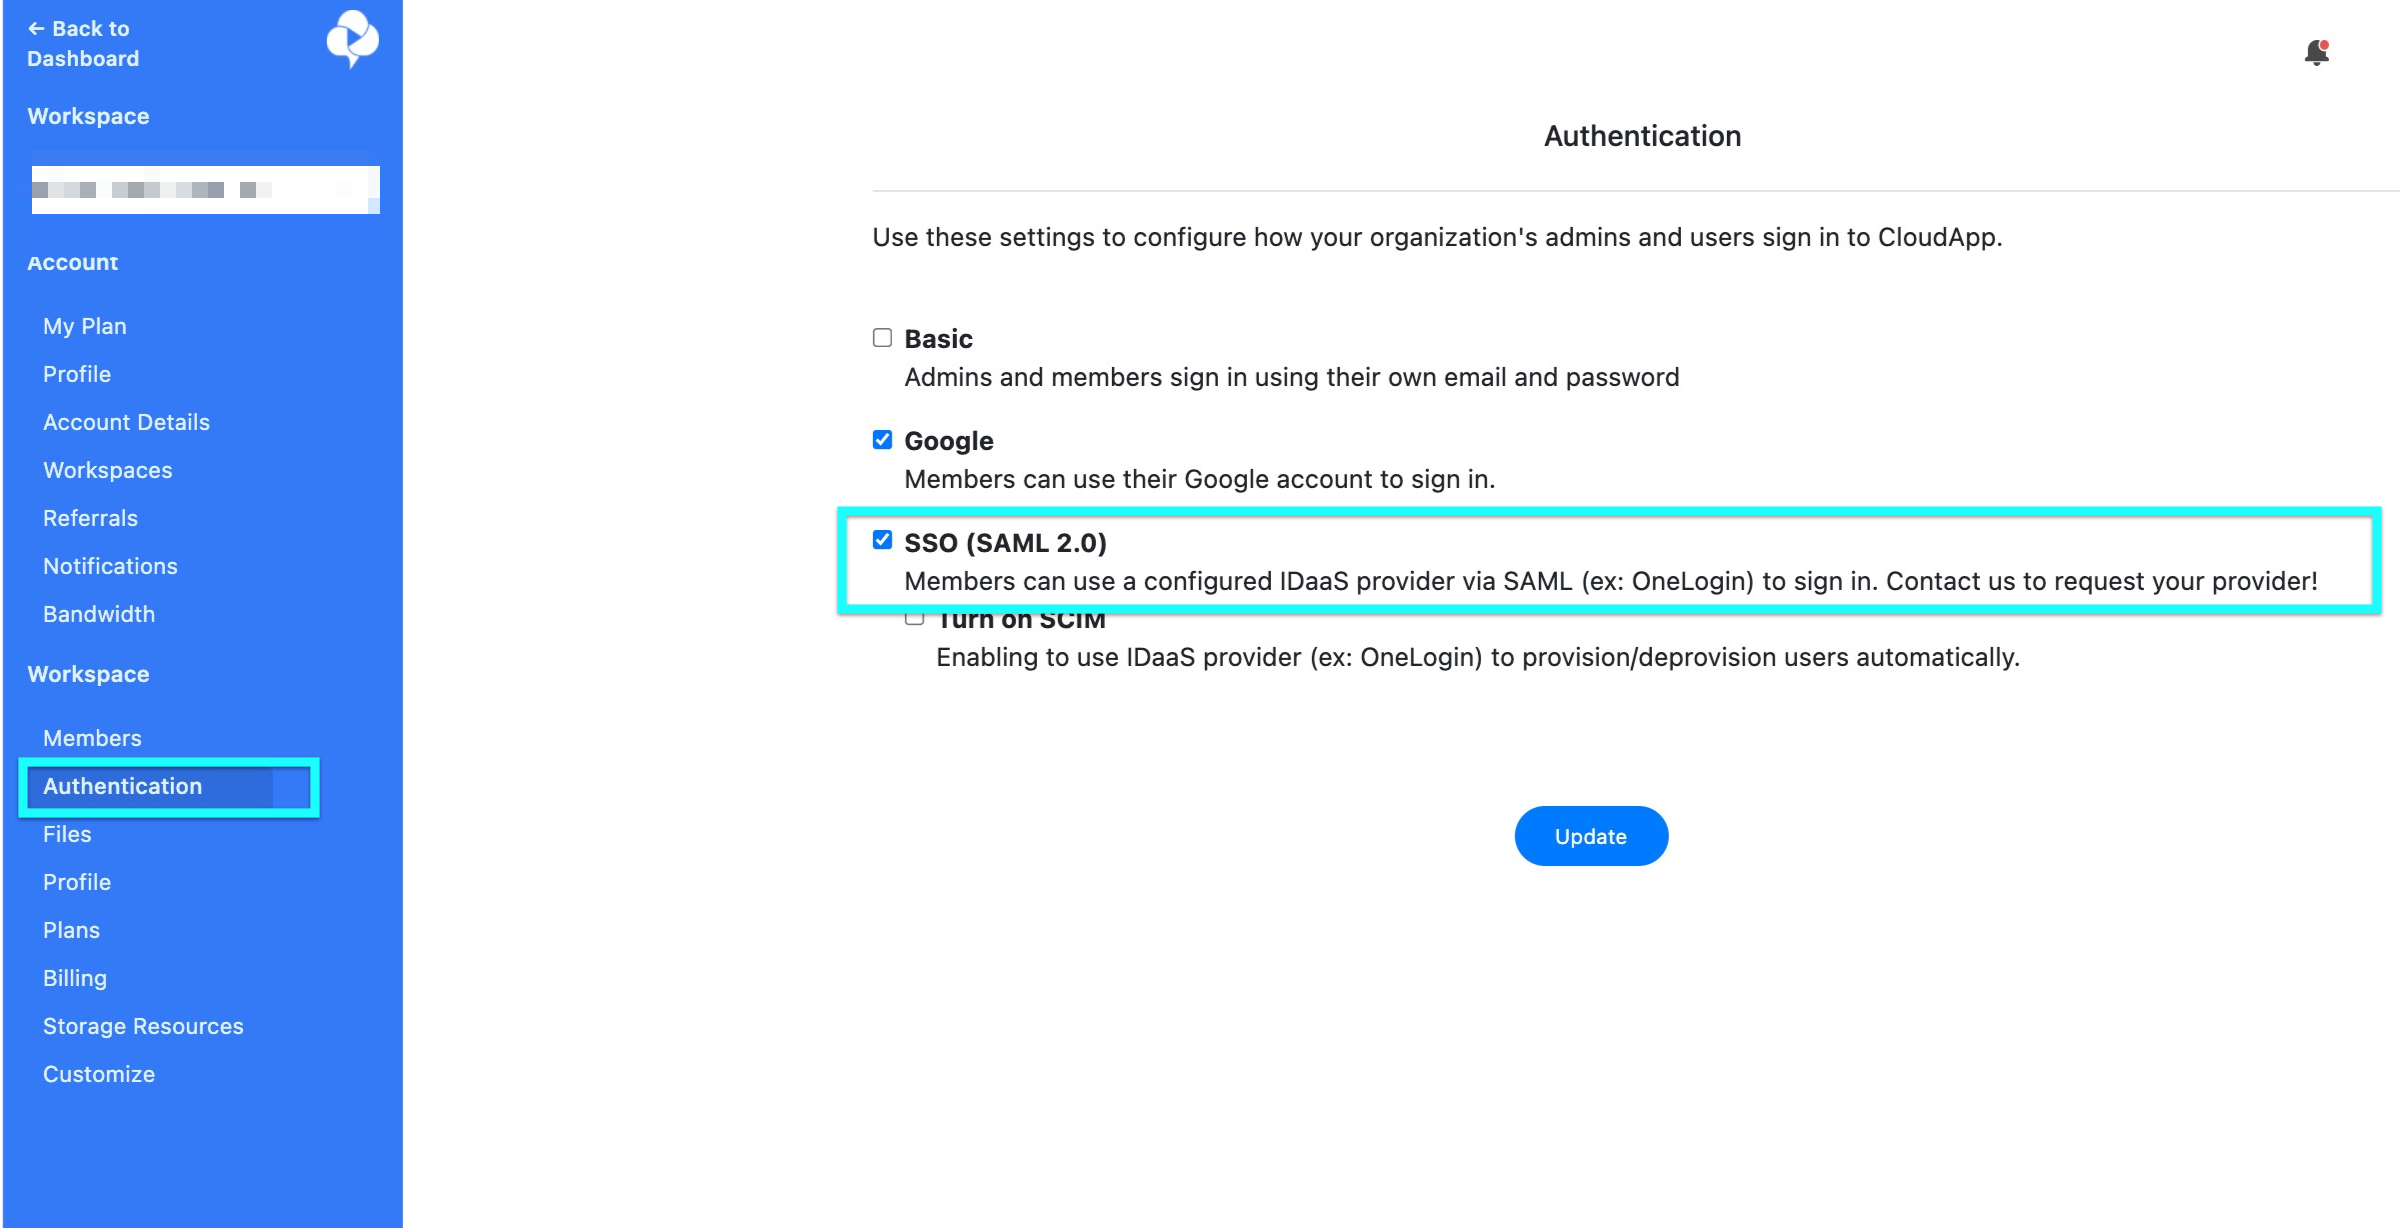
Enable SSO in Zight
Go to your dashboard in Zight. Access Team settings and enable SSO.
Tips & Best Practices
- Ensure all users have Google Workspace accounts before provisioning.
- Regularly review assigned users in Google Admin to keep your team list updated.
- Communicate any changes in SSO settings to your team promptly.
Troubleshooting
- New users not appearing immediately → Wait a few hours as provisioning can take time.
- SSO errors during login → Verify SAML settings and ensure all URLs and IDs are correctly entered.
Comments
0 comments
Please sign in to leave a comment.